Upload and use media
Add assets to the CMS media library and select them in site content.
The Media library holds files your organization can reuse in CMS content. Always check which CMS site is selected when uploading or choosing an asset; the library also shows where an asset is used.
Upload a file
- Select the site, then open CMS → Content → Media.
- Select Upload media and choose the files to upload. Review the file types accepted by the upload control and any validation message for a rejected file.
- Start the upload and wait for each file's result. If some files fail, review their messages and retry only those files after correcting the issue.
- Find the new asset in Media and open its preview to confirm you selected the right file.
Give images descriptive titles and alternative text where the relevant editor offers those fields. Check the asset's preview before placing it on a public page.
Use an existing asset
When editing a page section, header, footer, or other field that accepts CMS media, open its media picker, select an existing asset, and save the containing draft or settings. Choosing an asset in a picker does not by itself publish the page. Preview the page to check how the media appears before publishing.
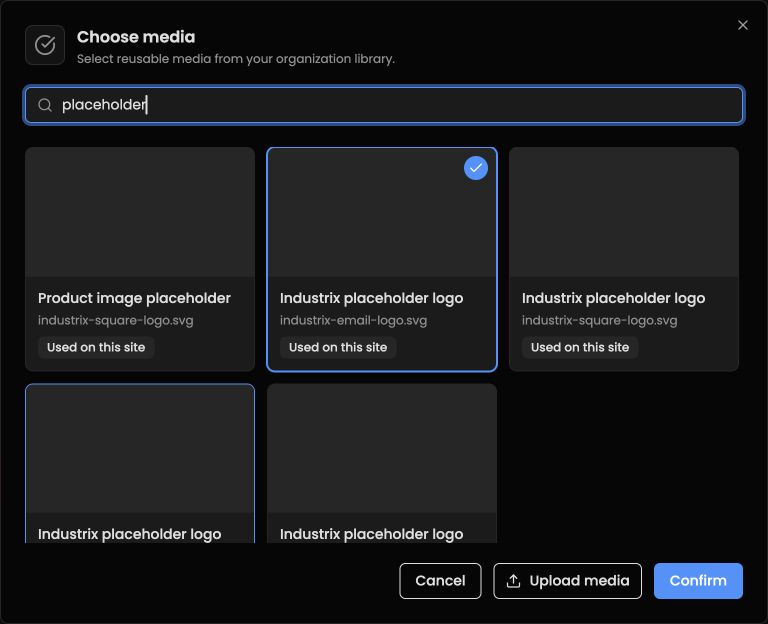
Illustrative media picker with placeholder assets. Select an asset, then confirm your choice.
Before replacing or removing an asset, inspect its usage in Media so you know which site content may be affected.